Week 3
Written on August 25th, 2023 by Laura Weller
Hi all!
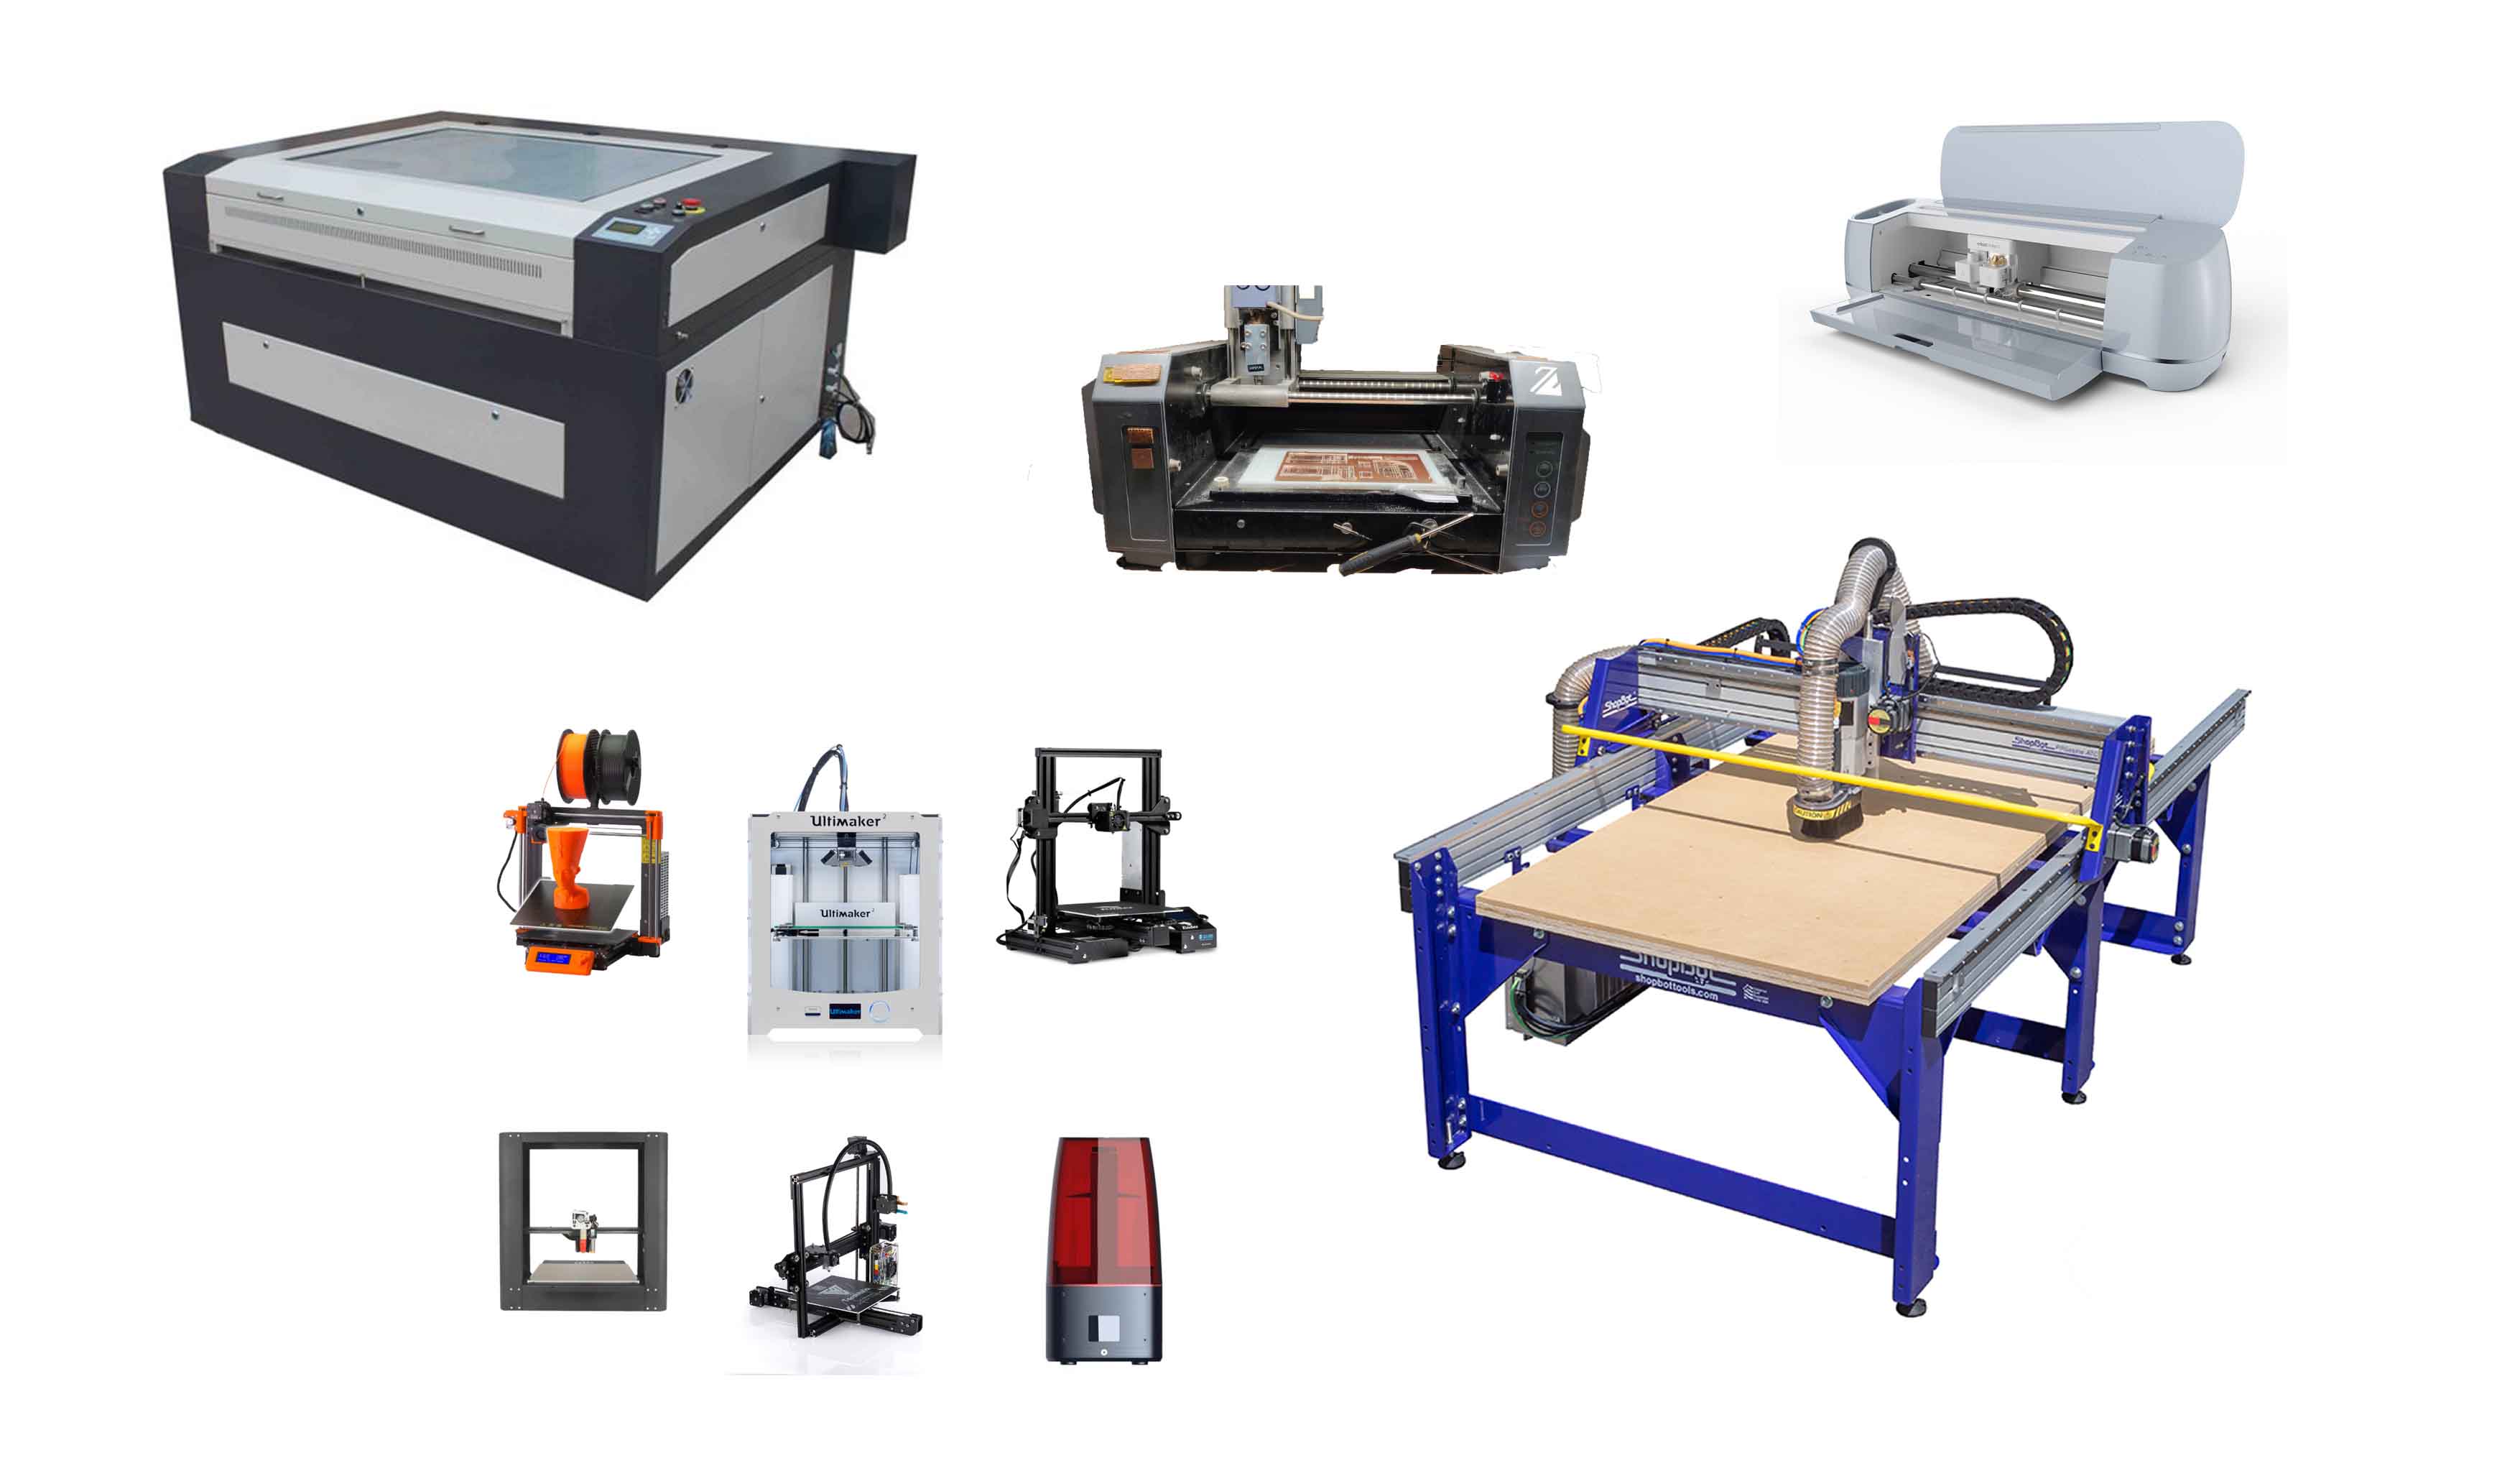
In the second and third week of my internship I learned to work with all the machines of the FabLab. See below all the machines. When you click on them, you get directed to the how-to-use page. See here the link to the documentation of De Waag. It really helped me get started: Documentation De Waag.
The machines that you can work with, you can see here below:

3D printers
Cricut cutter and heat pressing
PCB board
ShopBot
Lasercutter
The documentation of the machines from DeWaag can also be found on fablab.waag.org. To get access to the github of fablab.waag.org, I also made a documentation. See that here below:
- Install Python on https://www.python.org/downloads
- Check in your terminal if the right version of python is installed. MacOS has Python version 2.7 installed automatically. To ensure that you don’t have any risks, you can type in “python –v” as a command in terminal. Mac will show version 2.7. Then when you type in python3 –v, it gives the newest python version you just installed. Keep them both and whenever you work on the documentation for De Waag, just make sure you type python3 before it all so you ensure that you work with that.
- If correct, with downloading Python, Pip got already installed as well. You can check this by typing in “pip3 –v” in your terminal. Is it not found? Install pip by typing “python3 -m pip install” in your terminal.
- Install MkDocs by following the steps on this website, change “pip install mkdoc”s to “pip3 install mkdocs”.
- Open the local repository on Visual Studio Code (or github desktop, or anything else you use). Now you can make changes to your local repository and push them once you are happy with your changes.
Feel free to share!

