Week 25
Written on February 23rd , 2024 by Laura Weller
After finishing the coloration research and after putting the right pastes in the big molds, I decided to look at the practical components of the garments. These include shoulderpads,lining, zippers, buttons, hooks, etc. Some of these components I am able to 3D print, but some need more research. Therefore I made different foam materials to create shoulderpads. These foam materials come from different recipes from different websites. See the inspiration below:
- https://dl.acm.org/doi/fullHtml/10.1145/3532106.3533494
- https://class.textile-academy.org/2023/marieke-eyndhoven/assignments/week06/
- https://class.textile-academy.org/2020/loes.bogers/files/recipes/biofoam/
Shoulderpads
After reading recipes I decided to make 4 different recipes in foam. I based those recipes on examples such as these:
| Recipes | |
|---|---|
| A | 500 ml water, 100 gr xanthaangom, 16 gr glycerine |
| B | 500 ml water, 100 gr gelatine, 16 gr glycerine, 4 gr sodium alginaat, 8 gr aluin |
| C | 300 ml water, 10 gr MCC, 20 ml CMC, 20 ml glycerine, 3 ml dishwashing liquid, 9 gr paper pulp |
| D | 300 ml water, 15 gr alginate, 10 gr glycerine, 5 gr dishwashing liquid |
The outcomes of these recipes you can see below:
| Recipes | |
|---|---|
| A |  |
| B |  |
| C | This ended up as just pulp, so I had to throw it out |
| D |  |
As you can see, the outcomes do not look similar to the examples. I have been wrecking my brain to understand why. My current explanation is that I need to add more alginate to the recipe and that then the alginate will keep the foam intact.
Lining
While working with foam, I found that one of the recipes would function beautifully as a lining for the garments. I decided to sew one on a designed fabric to see how the outcome would be. See the result of that below:
Zippers
When it comes to zippers it is almost impossible to make them from biodegradable material (you would need a very expensive machine for that) Therefore I have decided not to use any zippers in my physical designs. For my digital designs, I can use zippers.
Buttons
For buttons the 3D printer can print buttons starting from around 3 cm big. Anything smaller can be created in a mold. Making a mold can be done through a vaccuum former. For the buttons of 3cm, see the image below.
For my designs I have decided to use raw wooden buttons. These buttons you can easily make yourself by getting a wooden stick and sawing off little bits, or lasercutting wood, but I have also found a lady in Paris who makes among many other buttons, her own wooden buttons. Some of the buttons are made from 100% raw wood - somethimes burned to create prints. This is where I bought my buttons. To get information on this shop, please visit: https://www.lamercerieparisienne.com/.
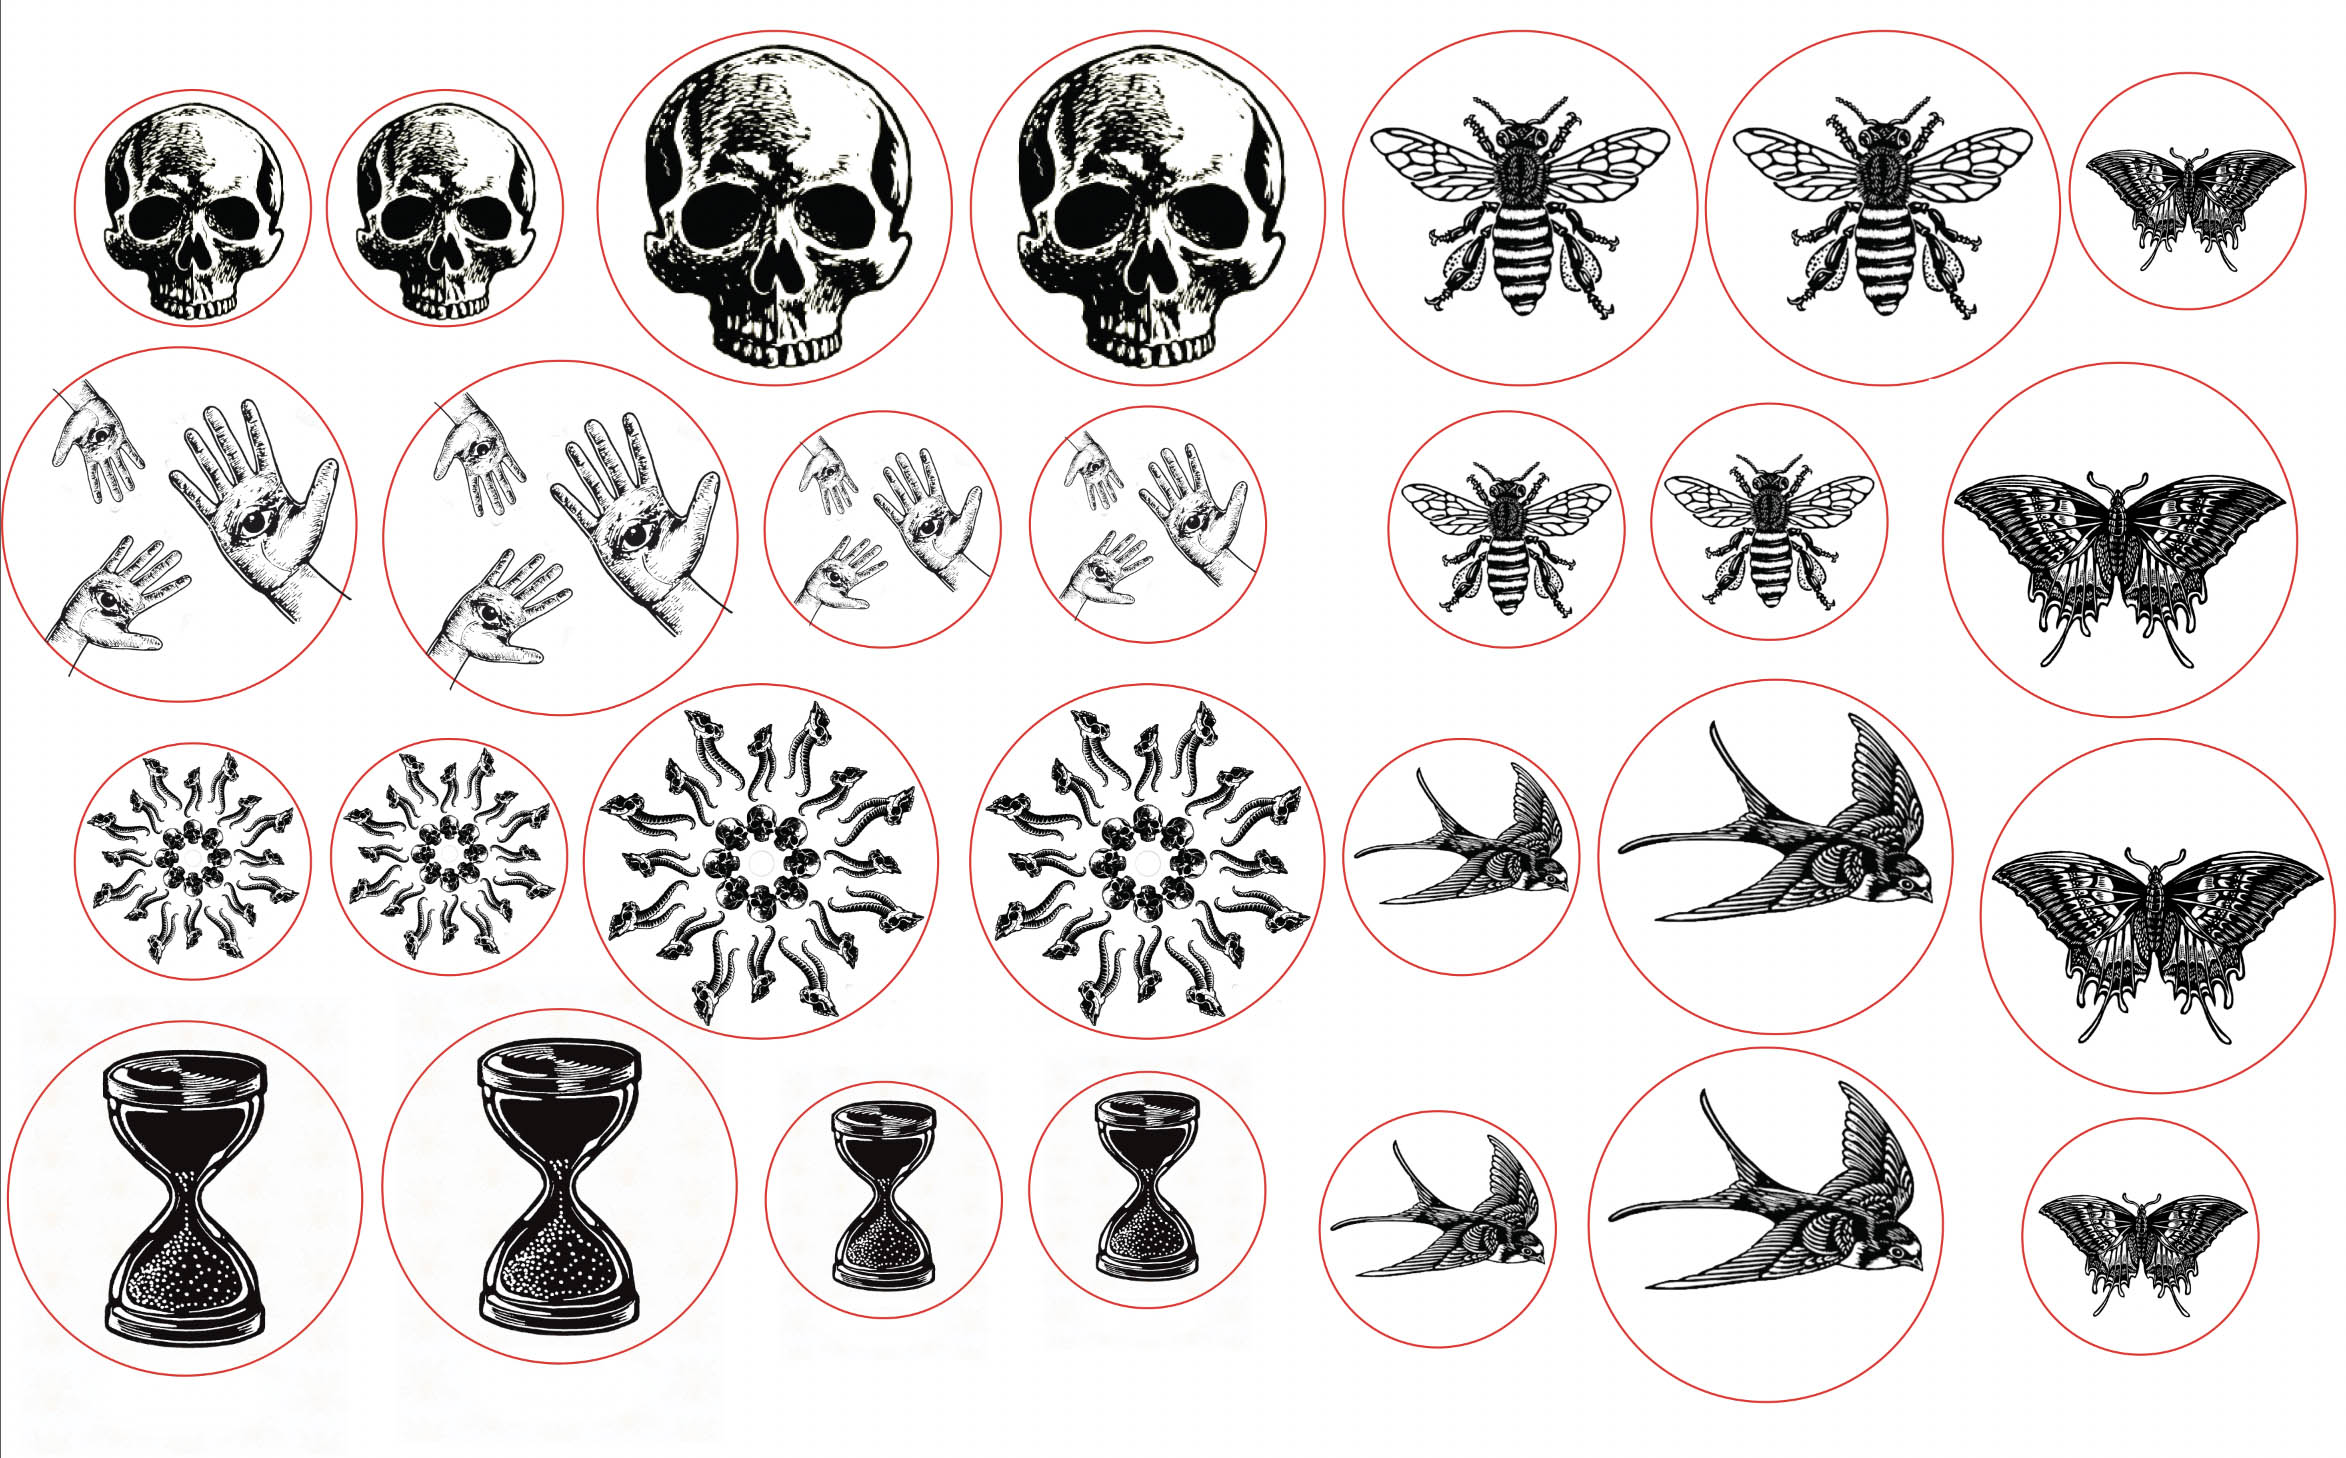
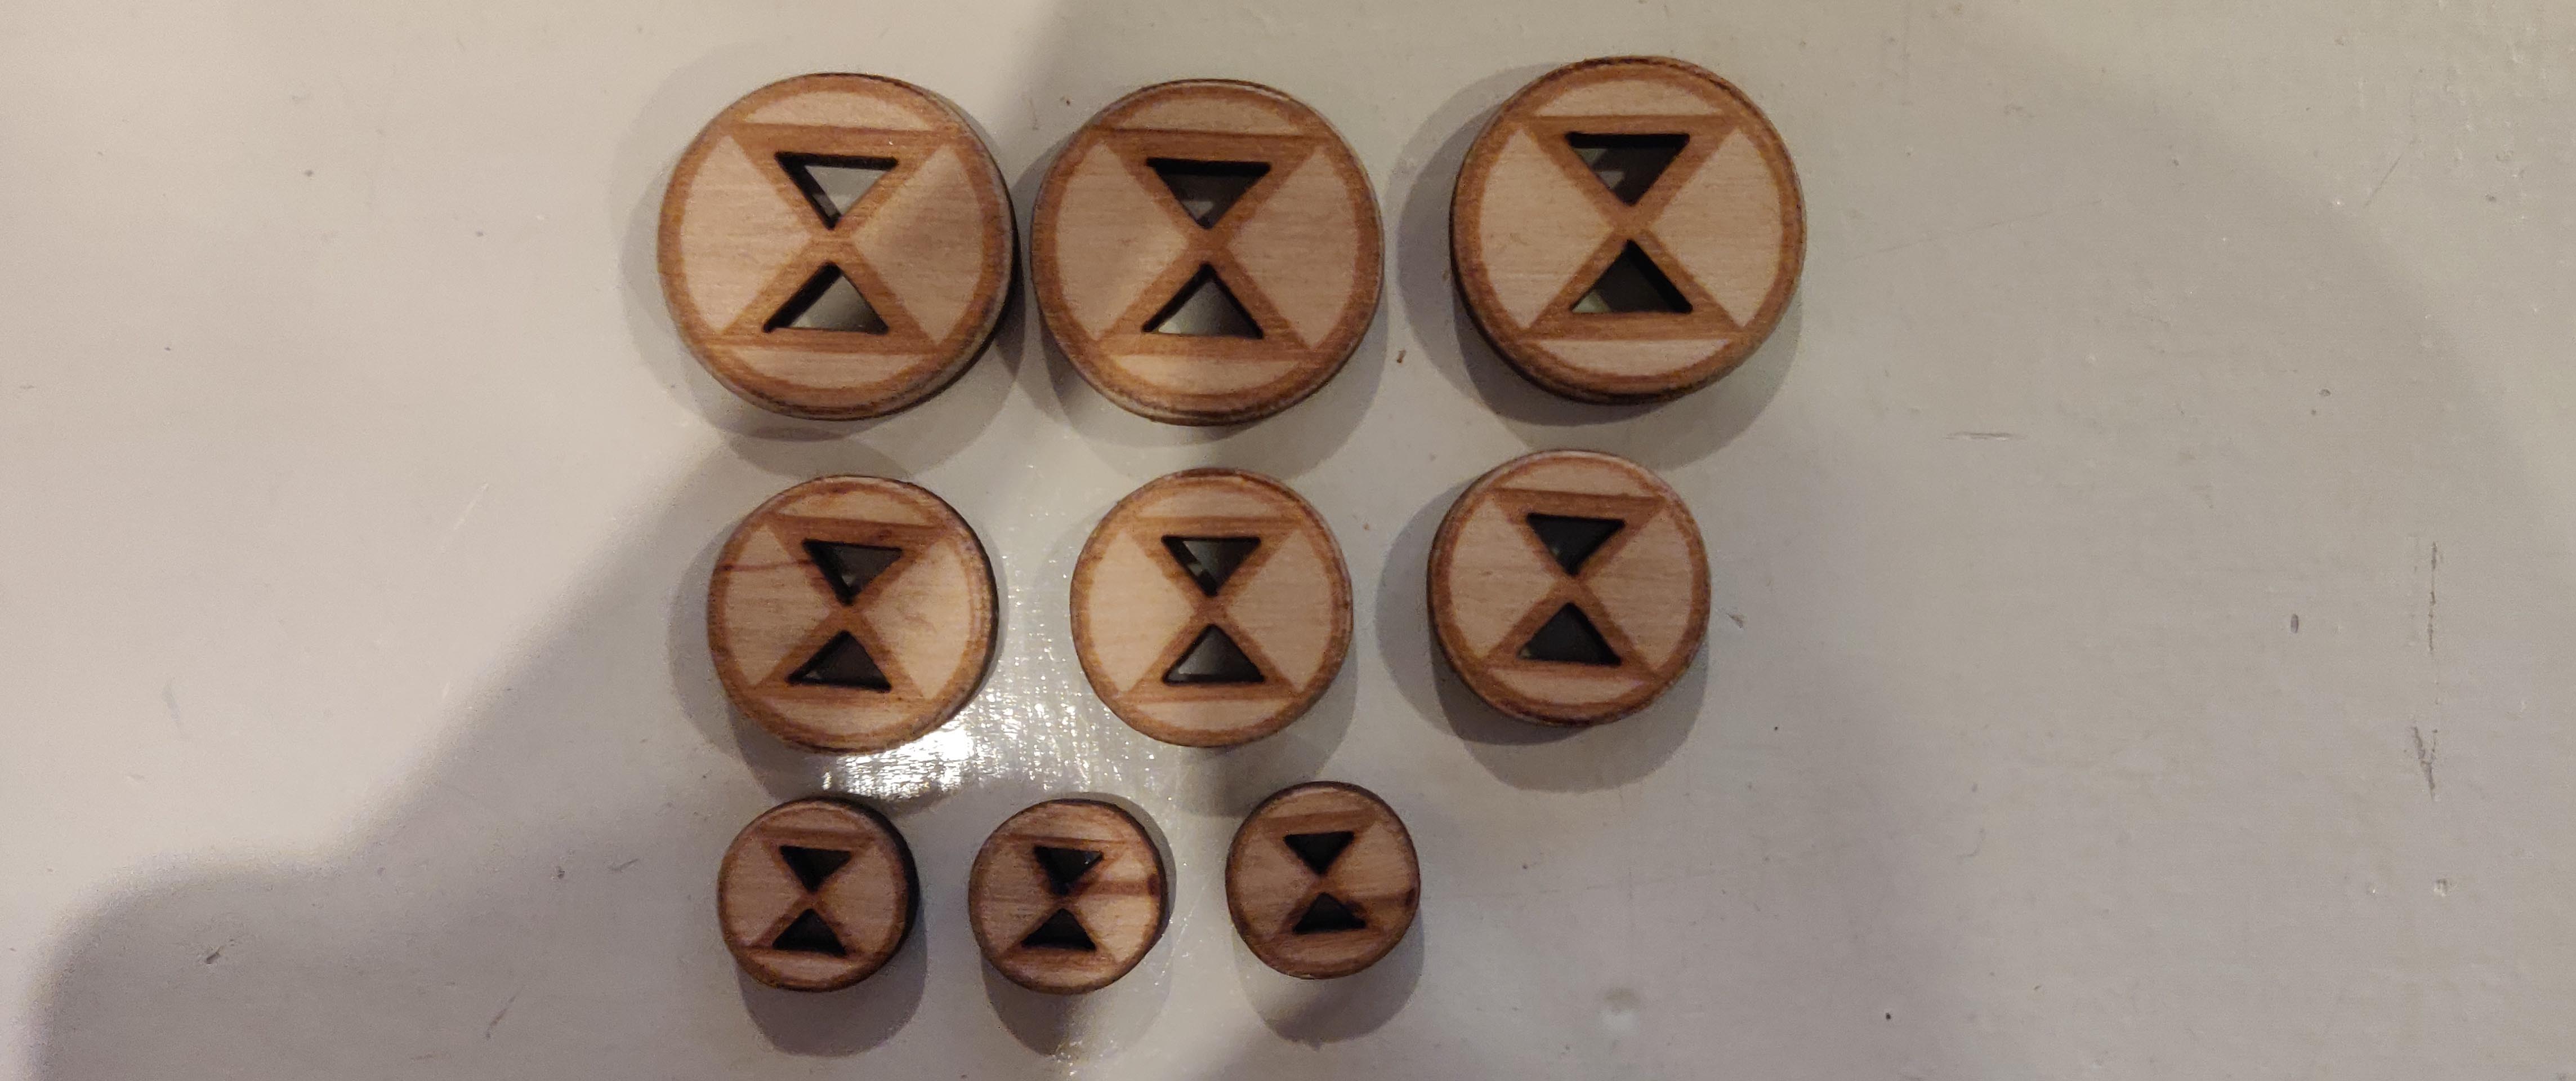
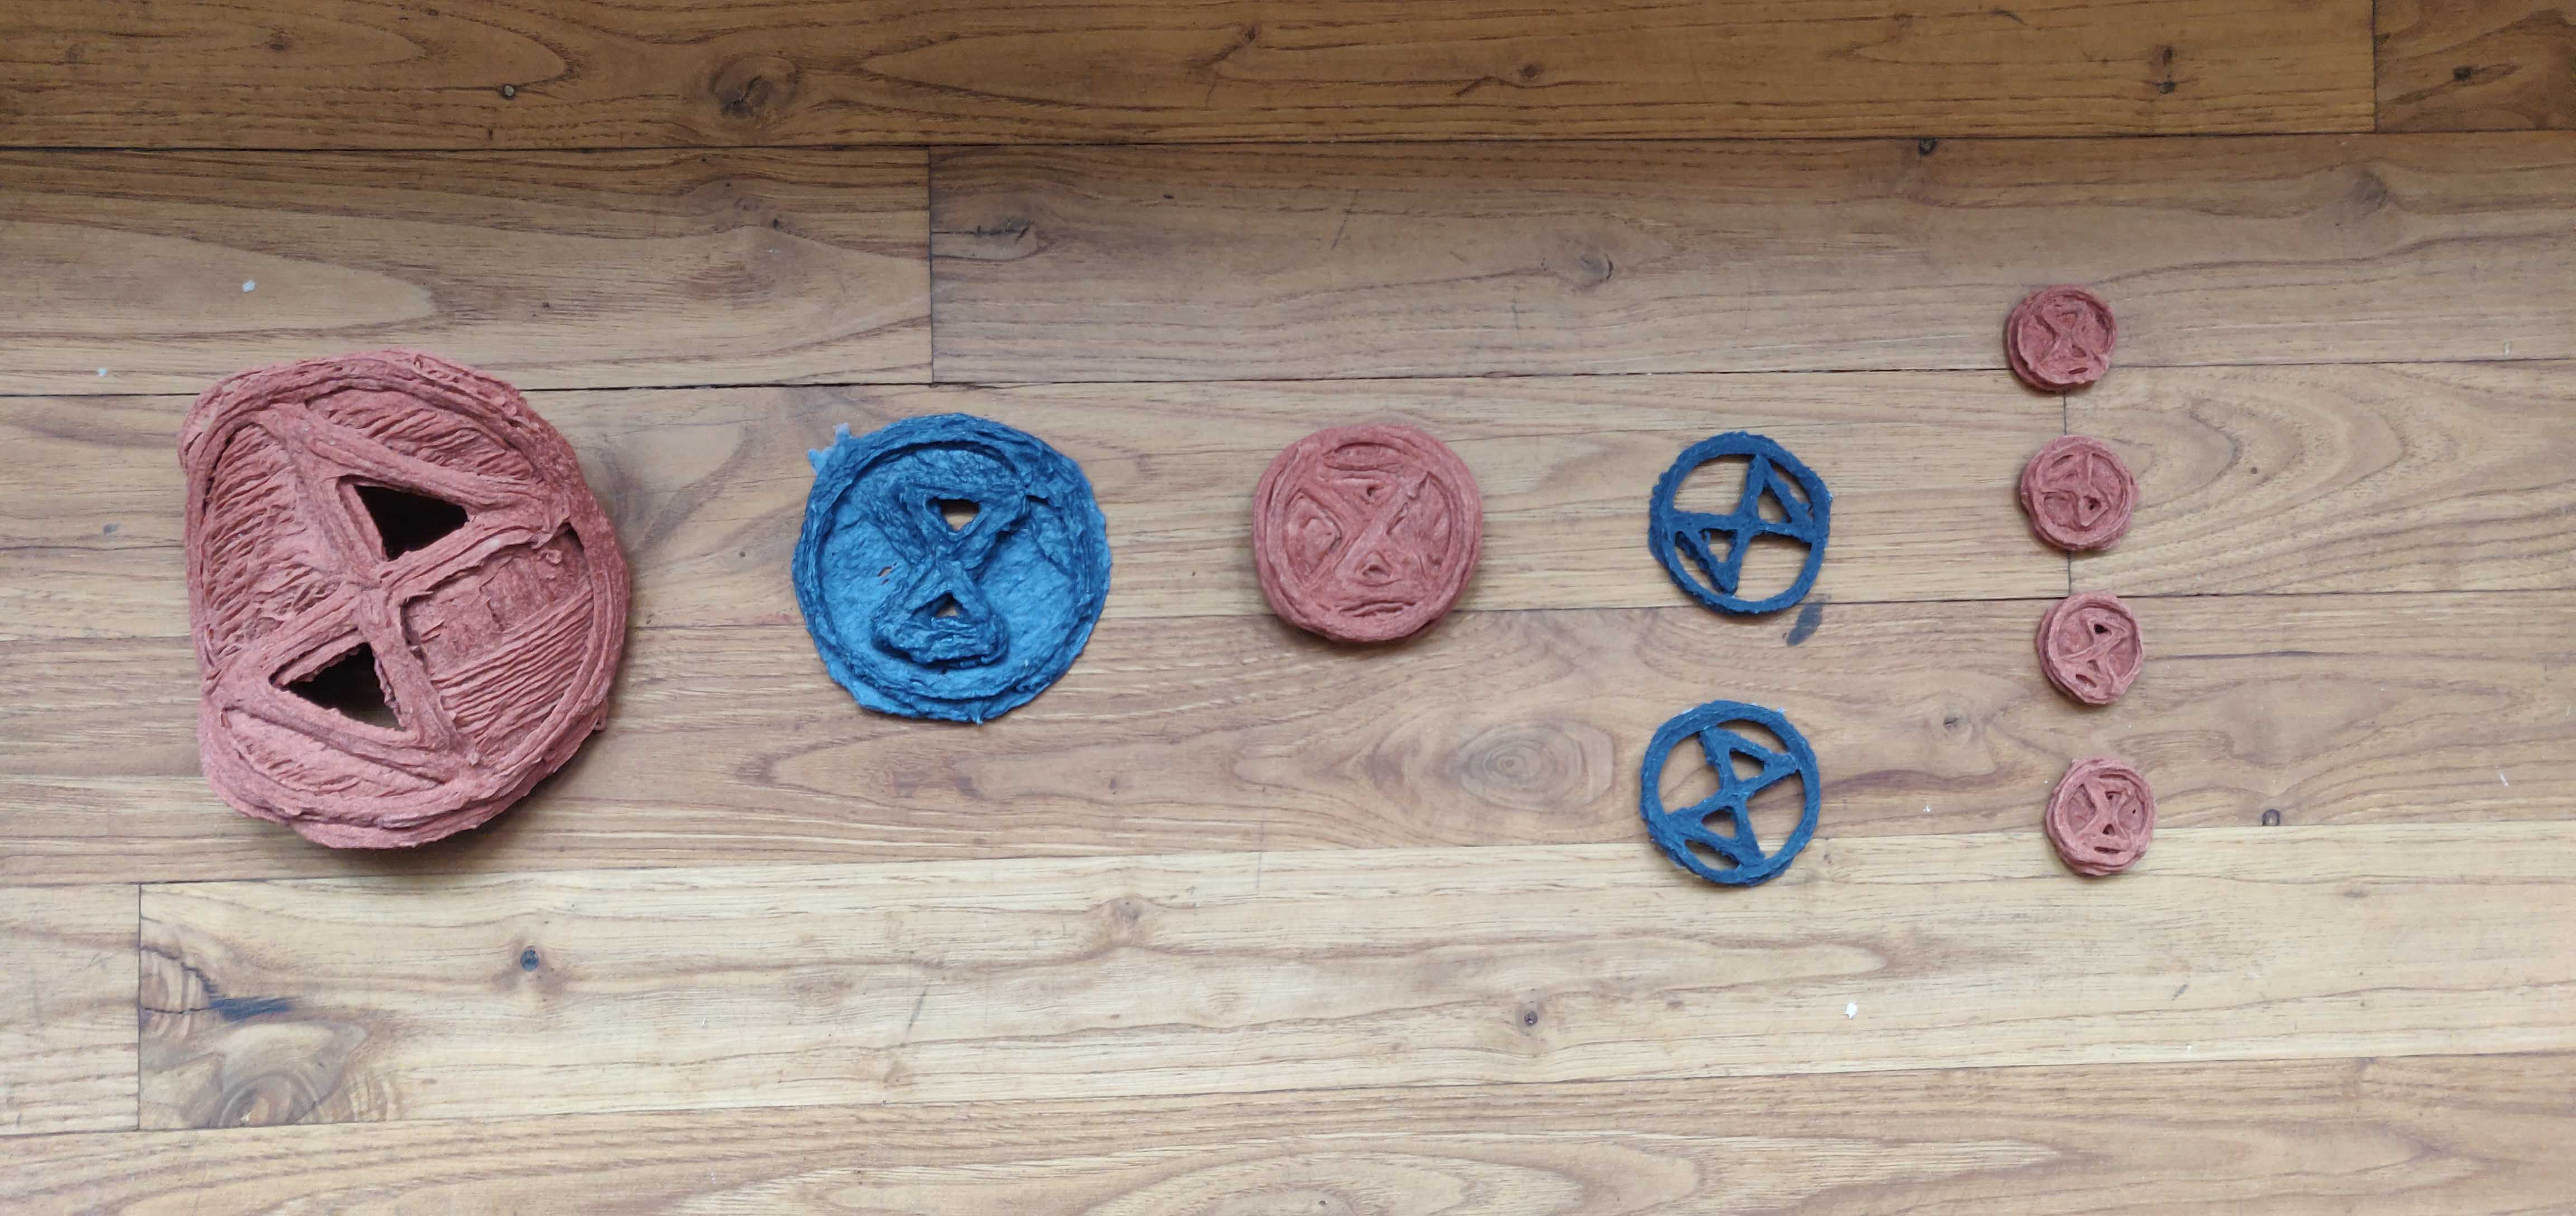
These buttons inspired me to make XR buttons, below you can see some testing and process of how I reached the buttons that I needed.
I started with adding XR imagery on the buttons, but these images where way to detailed for the lasercutter, so I ended up with the regular XR logo for the buttons.